Handling Abrasions From Rough Surfaces During Hiking Adventures With Your Dog
Carry a dog-specific first-aid kit with sterile 4×4 gauze, 0.5-inch adhesive tape, and 2% chlorhexidine wipes. Inspect paws and joints after each hike; treat any abrasion over 1 inch or 1 mm deep immediately. Flush wounds with potable water at 5–10 psi using a 500ml saline solution. Use non-adherent petrolatum gauze and secure with 4” x 6” vet wrap. Monitor for swelling, heat, or redness twice daily. A rise of 1.5°C signals early infection. Waterproof sealing preserves a stable healing environment. Further optimization of field response relies on precise instrumentation and protocol adherence.
Notable Insights
- Inspect your dog’s paws, elbows, and abdomen after each hike for broken skin or debris using a flashlight in fur-dense areas.
- Clean abrasions immediately with potable water at 5–10 psi pressure to remove dirt and reduce infection risk.
- Avoid alcohol and hydrogen peroxide; instead, use 2% chlorhexidine wipes or diluted honey for safe antiseptic treatment.
- Cover wounds with non-adherent, breathable dressings sealed by waterproof tape to maintain a moist healing environment.
- Monitor for infection by checking wound temperature, swelling, redness, and pus; act if temperature rises 1.5°C+ above baseline.
Bring a Dog-Specific First-Aid Kit
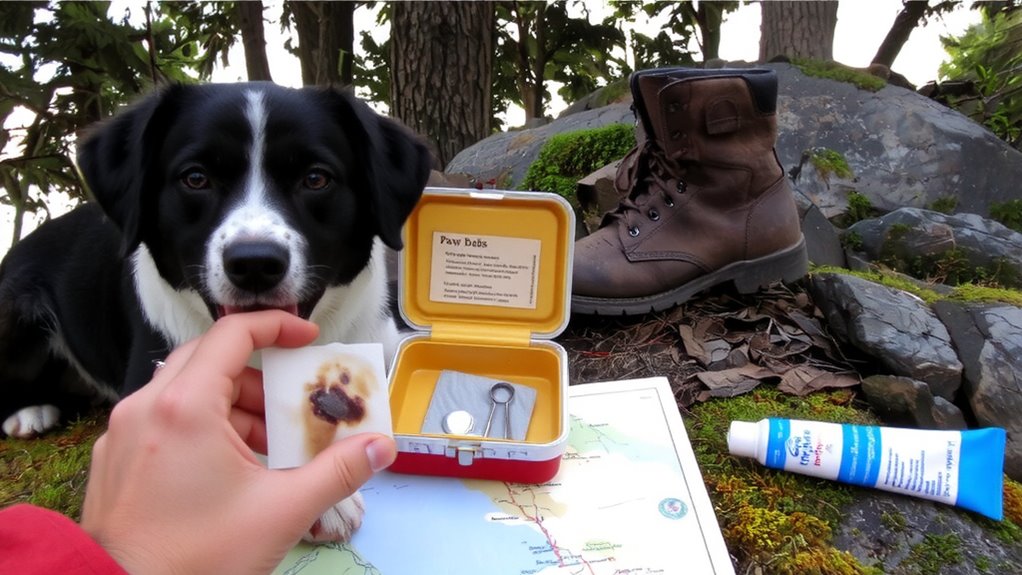
A well-stocked dog-specific first-aid kit isn’t optional-it’s essential. You need it for immediate wound prevention and emergency treatment on trails. Include sterile gauze pads (4×4 inches), adhesive tape (0.5-inch width), and antiseptic wipes with 2% chlorhexidine. A digital thermometer (range: 90–108°F; accuracy ±0.2°F) monitors for infection. Add a saline solution (500ml bottle) to flush debris from abrasions. Use a tweezers (stainless steel, 4.5-inch length) for splinter removal and scissors with blunt tips (5-inch) for safe trimming. A vet wrap (2-inch width) secures dressings without restricting movement. Conduct gear inspection before each hike-check expiration dates, seal integrity, and tool functionality. Replace used or damaged items promptly. Pack the kit in a waterproof, crush-proof container (minimum 8x6x4 inches). Label contents clearly. This preparedness reduces infection risk and stabilizes injuries until professional care is available. For reliable options, consider one of the top-rated pet first aid kits recommended by veterinary experts.
Spot Serious Abrasions Early
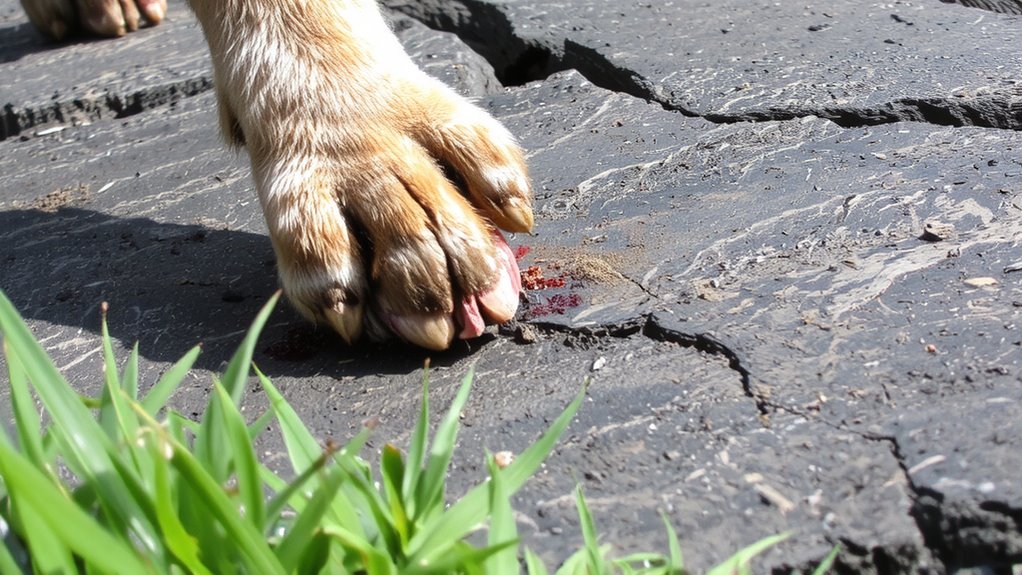
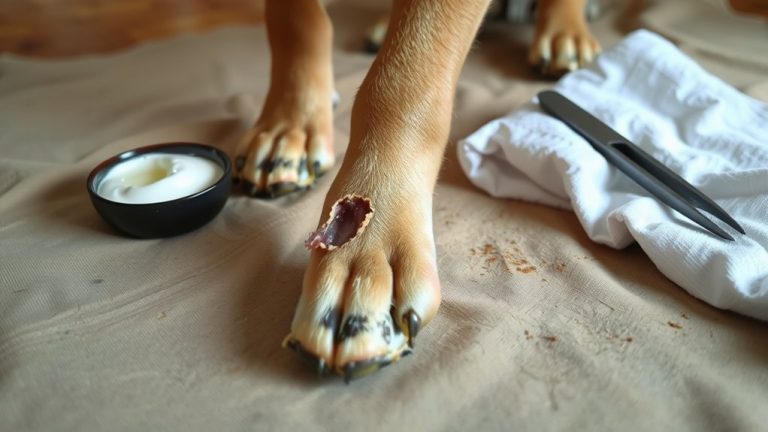
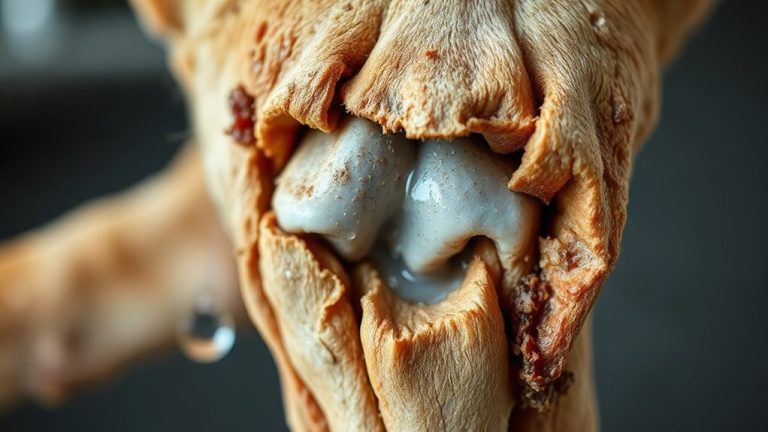
You’ve packed your dog-specific first-aid kit with antiseptic wipes, gauze, and saline-now you need to know when to use them. Early detection of serious abrasions is critical to preventing infection and worsening injury. Perform a thorough visual inspection of your dog’s paws, elbows, and abdomen after every hike, especially on rough terrain. Look for broken skin, deep scrapes, or embedded debris. Minor redness may heal independently, but exposed tissue or oozing requires intervention. Abrasions deeper than 1 millimeter or larger than 1 inch in diameter are considered serious. Check for swelling or heat around the wound, indicators of inflammation. Early detection reduces recovery time by up to 40%. Use a flashlight for better visibility in fur-dense areas. Regular visual inspection guarantees swift action, minimizing complications during backcountry travel.
Clean Scrapes With Safe Backcountry Methods
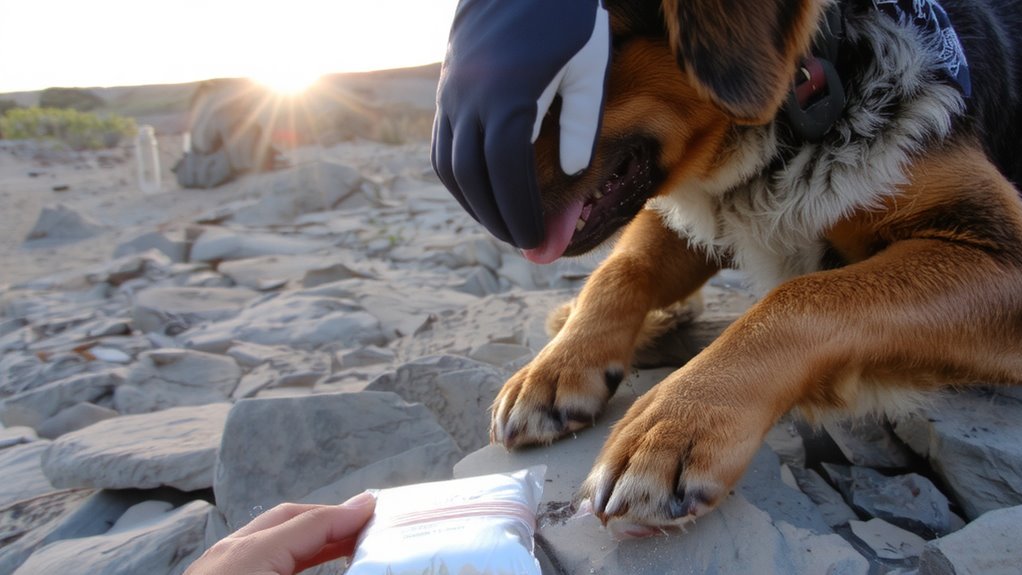
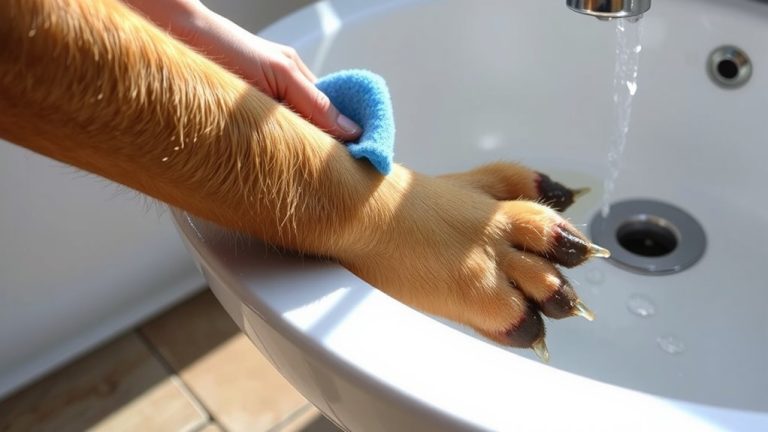
When dirt, gravel, or bacteria infiltrate broken skin, infection risk climbs fast-especially miles from medical help. Clean scrapes immediately using potable water to flush debris; irrigate at 5–10 psi to dislodge embedded particles without forcing contamination deeper. Boil cloth filters or use sterile gauze if available. Natural antiseptics like crushed plantain leaf or diluted honey offer mild antimicrobial effects-apply thinly after irrigation. Avoid alcohol or hydrogen peroxide; they damage tissue and delay healing. Use filtered water to rinse the area a second time if natural antiseptics are applied. If no commercial antiseptic wipes are available, prepare a 0.05% iodine solution by diluting 1% tincture 1:20 with clean water. Improvised bandages made from clean clothing or bandana fabric can shield the wound during treatment but must be tightly woven to minimize fiber shedding. Replace every 4–6 hours or when soiled. Keep the wound moist but not soaked to support epithelial migration.
Cover the Wound to Protect Healing
Proper wound coverage isn’t just about blocking dirt-it’s about creating a controlled environment that speeds healing while preventing contamination. Use non-adherent bandage types to avoid damaging new tissue during changes. Gauze pads with a petrolatum coating work well for minor abrasions, while hydrocolloid dressings maintain moisture in deeper scrapes. Sealing the edges with waterproof tape guarantees the healing environment stays stable, even during prolonged exposure to trail dust or humidity. For active dogs, consider breathable, flexible bandages that allow evaporation of excess moisture-critical for preventing maceration. A typical 4” x 6” adhesive wrap holds dressings securely on limbs or torso. These bandage types resist shifting during movement and tolerate light brushing against foliage. Maintaining a clean, moist healing environment promotes epithelial cell migration, reducing scab formation and scarring. Each bandage change should preserve the site’s integrity without disrupting tissue repair.
Watch for Infection on Multi-Day Hikes
One in five trail-treated wounds shows signs of infection without daily monitoring, making vigilance essential on multi-day hikes. You must monitor temperature at the injury site each morning and evening using a digital infrared thermometer. A localized rise of 1.5°C or more above baseline indicates early inflammation. Check swelling systematically by comparing limb circumference to the uninjured side with a flexible tape measure; an increase of more than 10% warrants action. Note redness, heat, pus, or worsening pain-these are clinical markers of bacterial proliferation. Use a wound tracker log to record observations daily. If swelling persists or temperature climbs, consider oral antibiotics if field protocols allow. Early detection limits tissue damage and preserves mobility. In remote settings, delayed intervention risks systemic infection. Consistent monitoring guarantees rapid response, maintaining both your and your dog’s endurance and safety throughout extended treks.
Shield the Injury During the Hike Back
A high-quality wound shield can make the difference between a safe return and worsening injury. Use a hydrocolloid or silicone-based adhesive cover that’s at least 25% larger than the abrasion to avoid contamination. These materials create a waterproof, breathable barrier that protects against dirt, moisture, and friction during movement. Seal the edges firmly to prevent debris entry-this is critical when trail conditions are dusty or wet. Shielding must maintain mobility, so choose a flexible, low-profile dressing under 3mm thick. Elastic dressings allow full joint range of motion without constriction. Some veterinary-recommended options include adhesive films with a 12-day wear time and tensile strength of 8–10 N/cm². Recheck the shield every two hours for slippage or swelling. If your dog licks or bites at it, consider a soft recovery sleeve to preserve integrity. Never use non-breathable tapes-they trap sweat and increase infection risk.
On a final note
You’re prepared when you carry a dog-specific first-aid kit with 2-inch non-adherent pads and medical tape. Immediate cleaning with sterile saline prevents contamination. Use antimicrobial ointment containing 2% chlorhexidine for effective pathogen control. Cover wounds with breathable, waterproof bandages rated for 72-hour wear. Monitor for redness, swelling, or discharge-signs of infection. Protect the injury using a lightweight, adjustable recovery collar during the hike back to minimize interference.