How to Tackle a Large Mat on a Cat’s Side Without Shaving
Use your fingers to grip the base of the mat and lift it from the skin, minimizing tension. Work in 1/8-inch sections with a wide-tooth stainless steel comb (3–5 mm spacing) to tease apart fibers. Switch to a fine-tooth metal comb (1–2 mm) for compacted areas, then a 0.5 mm dematting tool at a 30-degree angle if needed. Apply glycerin-based detangling spray for lubrication. Limit sessions to 15 minutes to reduce stress. You’ll find more strategies to manage severe tangles effectively.
Notable Insights
- Stabilize the mat at its base to prevent skin tugging while working on small sections.
- Use a wide-tooth comb to gently tease apart the mat from the edges inward.
- Switch to a fine-toothed or single-blade dematting tool at a 30-degree angle for stubborn tangles.
- Apply glycerin and lanolin-based detangling spray to lubricate and loosen compacted fibers.
- Stop if the cat resists or the mat is near the skin; seek a professional to avoid injury.
Skip the Clippers: Remove the Mat Safely by Hand
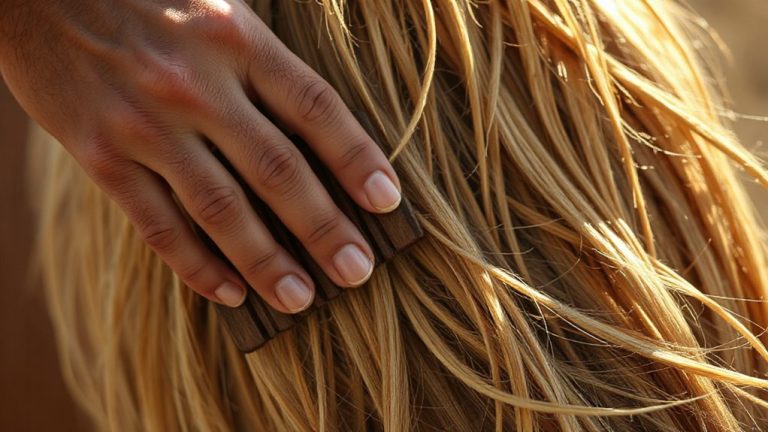
If you’re dealing with a matted cat, resist the urge to reach for the clippers-manual removal is often safer and prevents accidental skin nicks. Manual detangling allows precise control, reducing trauma to sensitive skin. Start with finger separation: gently grip the mat’s outer edge and pull outward, lifting it from the skin. This technique isolates the tangled mass, minimizing pressure on underlying tissue. Work in small sections, gradually loosening compacted fur without tearing. Use your thumbnail or a blunt probe to further separate fibers if needed. Maintain steady, light tension to avoid discomfort. Mats close to the skin require patience-rushing increases injury risk. Finger separation gives real-time feedback, letting you adjust force based on resistance. Unlike blades, this method preserves coat integrity and avoids irreversible hair loss. Manual detangling is ideal for mild to moderate mats, especially on thin or delicate skin. It’s effective, controlled, and avoids the irreversible damage clippers may cause when misused. For stubborn tangles, using the right tool like a cat deshedding tool can help gently break apart mats while minimizing stress on your cat’s coat.
What You’ll Need: Tools for Safe Mat Removal
A wide-tooth comb is your first line of defense against mats. Use one with stainless steel teeth spaced 3–5 mm apart to initiate comb detangling without pulling skin. Follow with a fine-toothed metal comb (1–2 mm spacing) to isolate and loosen compacted fibers. For severe tangles, a dematting tool featuring retractable blades-0.5 mm thick-cuts through knots while minimizing contact with the skin. Pair this with a rubber grooming mitt to remove loose undercoat before mat formation. Include a slicker brush with bent wire bristles (0.3 mm diameter) for final smoothing. All tools must have rounded tips to prevent irritation. Practice patience training by grooming in five-minute intervals daily, building tolerance. Keep tools clean with isopropyl alcohol wipes (70%) to maintain hygiene. Proper equipment, combined with consistency, enables safe, effective mat removal without shaving. Regular use of a cat grooming mitt promotes a smooth coat and reduces shedding between grooming sessions.
Step-by-Step: Break Down a Tough Mat Without Hurting Your Cat
Though mats may seem impenetrable, working from the edge inward with the right technique prevents pain and skin trauma. Start by stabilizing the base of the mat with one hand to minimize tugging. Use your other hand to apply detangling techniques with a wide-tooth comb, gently teasing apart loose fibers. Work in 1/8-inch sections, progressing toward the center. If resistance occurs, switch to a dematting tool with a single, sharp blade set at a 30-degree angle-never press downward. Maintain gentle handling by keeping tension off the skin; lift the mat slightly to create slack. For stubborn areas, use a detangling spray with glycerin and lanolin to lubricate hair shafts. Avoid sawing motions. Patience is critical-rushing increases the risk of accidental snags. Each session should last no more than 15 minutes to reduce stress. Consistent, methodical effort yields safer, more effective results than force. Using the right tool like a best cat grooming brush can significantly improve detangling efficiency and reduce coat damage.
When to Call a Pro Groomer: Don’t Risk a Cut
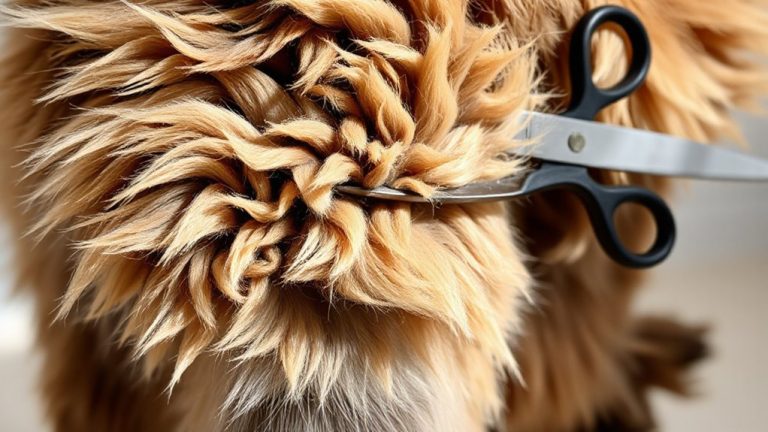
You’ve worked through the outer layers of the mat with a wide-tooth comb and maintained skin tension carefully, but some tangles resist even the best at-home techniques. At this point, calling a professional groomer isn’t defeat-it’s pain prevention and trust building. Pros use precision tools like thinning shears (0.2 mm blade thickness) and skin-safe clippers (adjustable guard #1–#4) to remove mats without contact with sensitive skin. Below are key indicators for professional help:
| Sign | Why It Matters |
|---|---|
| Mat is dime-sized or larger | Increases skin pull risk during detangling |
| Close to skin or growing inward | High chance of nicks with home tools |
| Cat shows stress or resistance | Compromises trust building and safety |
Attempting removal with dull tools or excessive force raises injury risk. Professional groomers apply controlled tension and directional cutting, minimizing discomfort. Their experience guarantees effective, humane results-preserving both coat integrity and your cat’s confidence in care.
Stop Mats Before They Start: A Daily Brushing Routine
Brushing your cat daily isn’t just grooming-it’s preventive maintenance. It’s the most effective way to prevent tangles and maintain coat health. Use a stainless steel comb with teeth spaced 0.5 to 1.5 mm apart for fine undercoat removal. Follow with a slicker brush featuring bent wire bristles, 2–3 cm long, to lift loose fur without irritating skin. Spend 5–7 minutes daily, focusing on friction zones: behind ears, under legs, and along the spine. These areas collect dead hair and moisture, accelerating mat formation. A consistent routine reduces shedding by up to 60% and improves skin circulation. For long-haired breeds, double brushing-first with a comb, then a bristle brush-ensures full detangling. Short-haired cats still need weekly attention, but daily brushing guarantees early detection of developing mats. Over time, this habit prevents painful clumps and cuts grooming stress. Simple tools, regular effort-maximum impact.
Comfort Your Cat After Mat Removal
After removing a mat, your cat may feel stressed or tender at the site. Provide a quiet space where they can retreat without disturbance. Minimize noise and activity to reduce anxiety. Monitor the area for redness or irritation, which typically resolves within 24 hours. Offer gentle praise in a calm voice to reinforce positive associations. Avoid overhandling the site, as the skin may remain sensitive. Use a soft microfiber towel for drying if cleaning is necessary. If irritation persists beyond 48 hours, consult a veterinarian. Do not apply topical products unless prescribed. A quiet space supports recovery, much like an isolation chamber limits environmental stressors. Gentle praise acts as behavioral reinforcement, increasing compliance during future grooming. Guarantee suitable room temperature (68–72°F) to prevent thermal discomfort. Limit interaction with children or other pets for at least six hours post-removal. This protocol guarantees minimal post-procedure distress and promotes rapid recovery.
On a final note
You can safely remove a large mat without clipping. Use a slicker brush, mat splitter, and dematting tool rated for dense undercoat. Work in 1/4-inch sections to minimize skin pull. Apply light, consistent pressure-never yank. If resistance exceeds 200 grams, stop; deeper mats risk skin injury. Post-care, use a leave-in conditioner with 2% hydrolyzed keratin. Daily 5-minute brushing prevents future mats.