Using Treat Trails to Guide Dogs Through Backyard Obstacle Courses
You lay a treat trail using ¼-inch dehydrated liver cubes spaced 6–8 inches apart to guide your dog through a backyard obstacle course. Use 1.5-inch UV-resistant PVC for jumps and ½-inch marine plywood for pause tables, securing each with 8-inch steel stakes. Place final treats at the base of the first obstacle to initiate movement. Keep paths straight or gently curved, and enhance focus with food-grade scent oils 2–3 inches off the ground. Rotate reward locations weekly to prevent pattern dependency and maintain mental engagement. Subtle changes in trail layout and obstacle sequencing refine precision and anticipation.
Notable Insights
- Lay a continuous treat trail using ½-inch soft treats spaced 6–8 inches apart to guide smooth movement through the course.
- Use high-value, low-moisture treats like dehydrated liver to maintain focus and prevent spoilage during training.
- Place the final treat at the base of the first obstacle to prompt immediate engagement with the course.
- Reinforce directional focus with visual markers like small flags during early training sessions.
- Gradually fade the treat trail by rotating reward locations and introducing scent-based challenges to build independence.
Gather Your Supplies
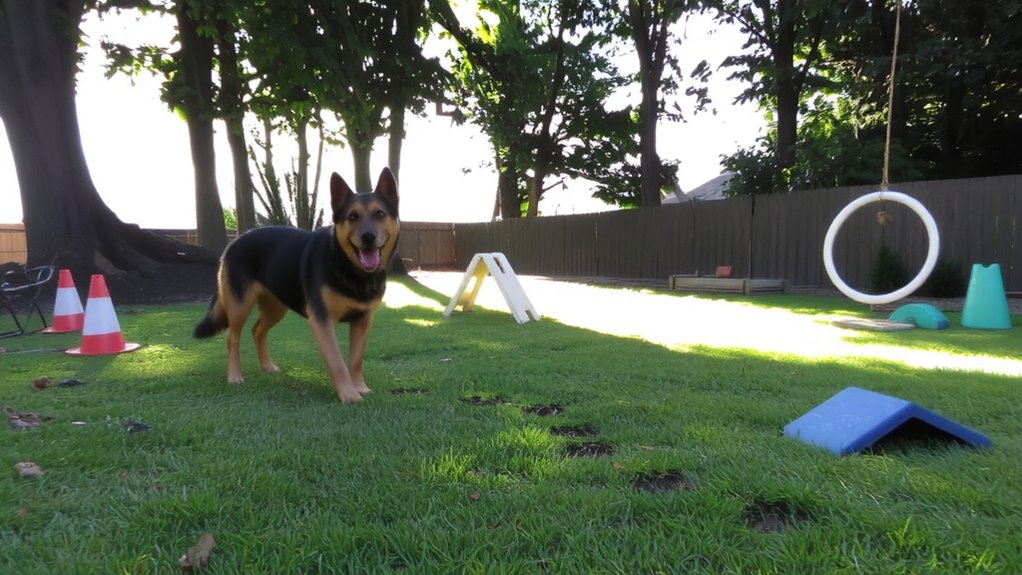
You’ll need a core set of durable materials to build a safe and functional dog obstacle course. Use UV-resistant PVC (Schedule 40, 1.5-inch diameter) for jumps and weave poles; it withstands weather and impact. Wooden planks (½-inch marine-grade plywood) work for pause tables and tunnels lined with canvas for grip. Secure all obstacle materials with ground stakes (steel, 8 inches) to prevent shifting. Choose non-toxic, washable paints for visibility. For treat types, select low-moisture, high-value options like dehydrated liver bits (¼-inch cubes) or freeze-dried beef. These resist spoilage and remain effective in varied humidity. Dispense treats using durable plastic bait bags with quick-release clips. Avoid sticky or crumbly treat types that attract pests or degrade course integrity. All materials must support repeated use without deformation or safety risk.
Design a Backyard Treat Trail Layout
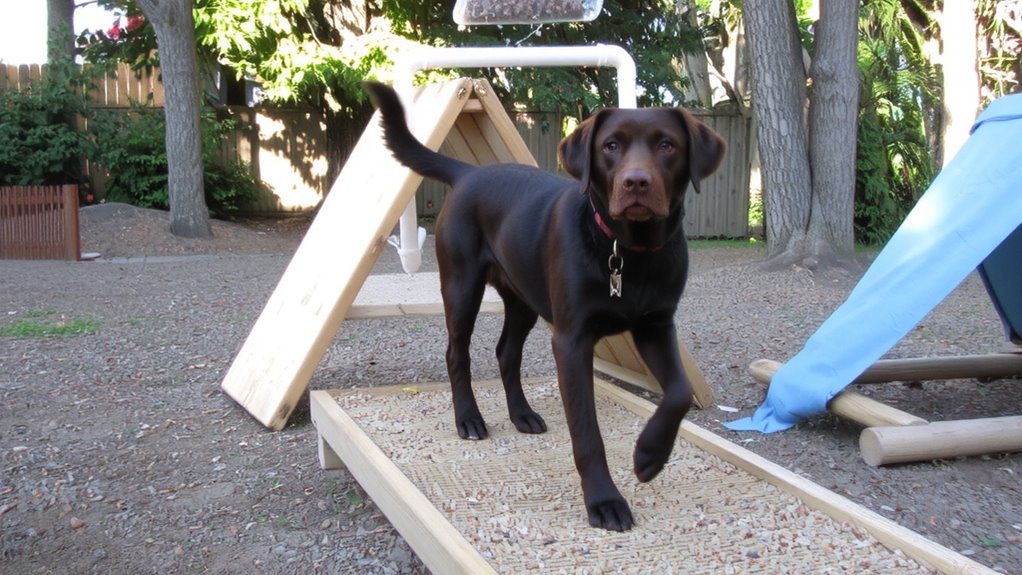
While every backyard differs in size and terrain, a well-planned treat trail follows a consistent design principle: a continuous loop with evenly spaced obstacles that guide your dog through a sequence of challenges. Use durable trail materials like PVC markers or natural elements (rocks, logs) to define the path. Position each obstacle 4–6 feet apart to maintain flow. Scent placement is critical-apply food-grade scent oils or crushed treats at decision points to direct attention. Avoid over-scenting, which can confuse your dog.
| Feature | Specification |
|---|---|
| Loop Diameter | 8–12 feet for average yards |
| Obstacle Spacing | 4–6 feet center-to-center |
| Trail Materials | Non-toxic, weather-resistant |
| Scent Placement | 2–3 inches above ground, subtle |
This layout guarantees clarity, safety, and effective learning.
Teach Commands Before the Trail
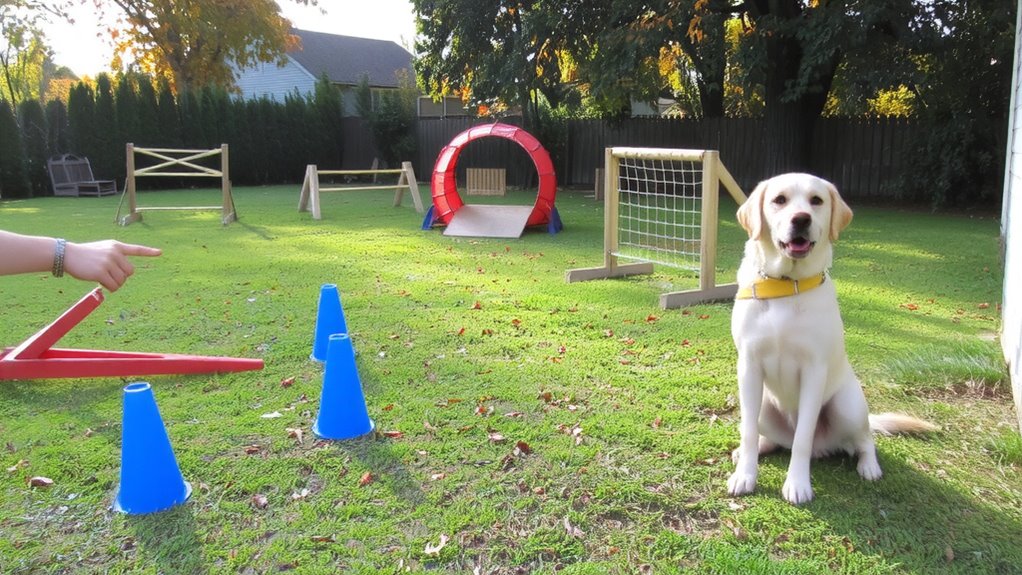
A clear layout sets the stage, but your dog must first understand basic commands before traversing the trail. Begin with essential cues like “sit,” “stay,” “come,” and “heel,” using positive reinforcement to strengthen compliance. Deliver treats immediately after correct responses to create strong associations. Use clear cues-consistent verbal commands paired with hand signals-to minimize confusion. Practice each command in low-distraction environments before advancing. Repetition over 10–15 sessions, 5–10 minutes daily, builds reliability. Reinforce precision by rewarding only exact behaviors. Dogs learn fastest when reinforcement follows within 1–2 seconds of performance. Standardize your language; avoid variations in phrasing. A structured foundation guarantees your dog responds promptly and accurately during trail navigation, where focus is critical. Clear cues and positive reinforcement establish predictable behavior under varying conditions, directly improving obstacle course efficiency and safety.
Lay the Trail: Guide Your Dog Step by Step
Once the foundation of basic commands is solid, you can begin laying the trail with purposeful precision. Start with strategic treat placement, positioning each treat six to eight inches apart in a continuous line. This spacing guarantees your dog maintains focus without rushing. Use high-value, soft treats no larger than ½ inch to minimize eating time and sustain momentum. Trail continuity depends on consistent cues and unbroken reinforcement-each treat should guide your dog directly toward the next obstacle. Position the final treat at the base of the first obstacle to initiate movement with purpose. Avoid clustering treats; uneven spacing disrupts rhythm and dilutes learning. Use visual markers, like small flags, during early training to reinforce directional intent. Maintain a straight or gently curved path to prevent confusion. Proper treat placement and trail continuity build predictable behavior, forming the backbone of successful obstacle navigation. Every step is a calculated reinforcement.
Fix Distracted or Stuck Dogs During the Course
What do you do when your dog hesitates or veers off the trail? Use immediate positive reinforcement to redirect attention. Offer high-value treats, like freeze-dried liver, in rapid succession to re-engage focus. Pair verbal cues (“watch me”) with a hand signal near your eye level to strengthen focus training. If your dog stalls at an obstacle, place treats in a short trail leading forward-no more than 6 inches apart-to encourage movement. Avoid pulling the leash; instead, use a 4-foot training lead to minimize interference. Conduct sessions in low-distraction environments initially, then gradually increase complexity. Consistent practice for 5–7 minutes daily improves response reliability by up to 70% over three weeks. Repeated reinforcement sequences build associative learning, making recovery from setbacks faster. Maintain calm, predictable movements to avoid heightening your dog’s uncertainty during disruptions. For best results, choose training treats that are both palatable and easy to dispense, such as those featured in top-rated best training treats lists.
Add Challenge With Progression Games
You’ve built focus and resilience through structured redirection and positive reinforcement-now it’s time to test that foundation with purposeful complexity. Introduce timed challenges to measure precision and speed under controlled conditions. Use a stopwatch to record baseline performance; aim for consistent completion within 45–60 seconds, adjusting for course length. Gradually decrease allowable time by 5-second increments to escalate difficulty. Embed hidden rewards-small, high-value treats-under flip lids or beneath weave poles to encourage thorough searching. Place rewards at unpredictable intervals, ensuring dogs rely on scent and memory, not repetition. Conceal treats in silicone scent boxes (3” x 3” x 2”) to prolong detection effort. Rotate reward locations weekly to prevent pattern dependency. These progression games sharpen problem-solving and maintain engagement. Timed challenges improve response latency; hidden rewards enhance olfactory acuity. Together, they advance cognitive and physical performance within a structured framework.
On a final note
You now have a structured method to train your dog using treat trails in backyard obstacle courses. Start with clear commands and consistent reinforcement. Use high-value, pea-sized treats spaced 2–3 feet apart to maintain focus. Adjust trail complexity based on response time, ideally under 5 seconds per obstacle. Gradually phase out treats to sustain learned behaviors. Precision improves with repetition, making this an efficient, data-driven training approach.