Creating a Sterile Field at Home for Treating Deep Scratches on Cats
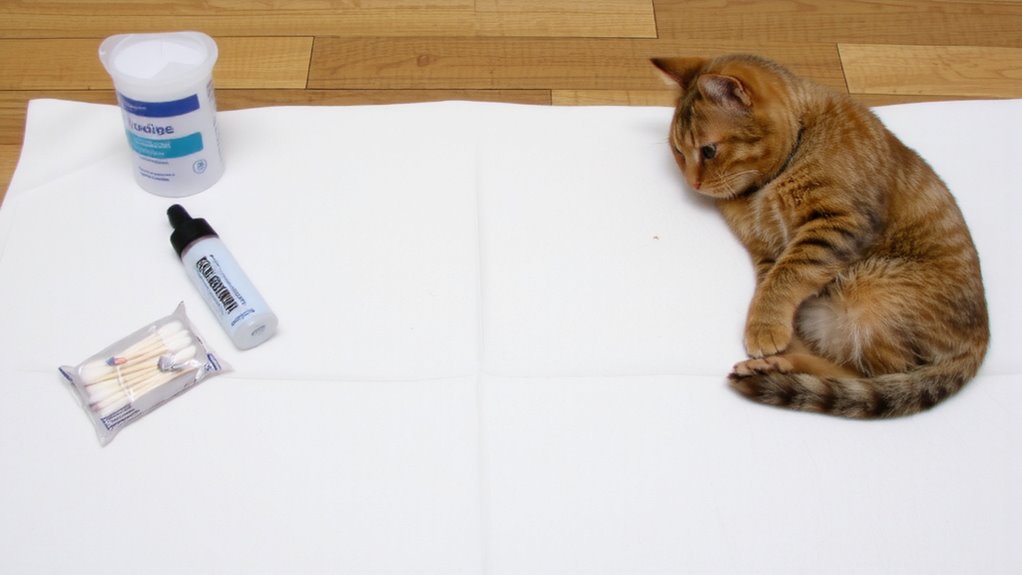
Choose a quiet, well-lit area with a flat, impermeable surface at least 18 x 18 inches. Use a task lamp emitting 400–500 lux at a 45-degree angle for ideal visibility. Disinfect the surface with 70% isopropyl alcohol and a lint-free cloth; let it sit 30 seconds before drying. Keep all supplies sterile and within reach. Minimize airborne contaminants by limiting movement and maintaining a clutter-free zone. Proper setup reduces infection risk greatly-next steps guarantee safe wound intervention.
Notable Insights
- Choose a quiet, well-lit area with a flat, impermeable surface to establish a clean workspace.
- Disinfect the surface with 70% isopropyl alcohol and allow a 30-second dwell time before use.
- Ensure the area is clutter-free and measures at least 18 x 18 inches to maintain a sterile field.
- Wash hands thoroughly and wear nitrile gloves to prevent contamination during wound care.
- Use sterile instruments and supplies, keeping them untouched until needed to preserve sterility.
Decide If Your Cat’s Scratch Can Be Treated at Home
How do you know when a cat scratch requires more than home care? Assess wound severity first. Superficial scratches under 1 cm in length and without bleeding typically don’t need veterinary intervention. Deeper lacerations exceeding 2 cm, punctures, or those showing redness, swelling, or pus indicate infection risk. Monitor cat behavior closely. Lethargy, aggression, excessive grooming of the area, or avoidance of movement signals pain or systemic response. A scratch near joints or critical areas demands professional evaluation. Normal cat behavior includes slight irritation; persistent changes suggest complications. Combine visible indicators with behavioral cues. If wound severity includes continuous oozing or tissue exposure, or if behavior changes last over 24 hours, seek veterinary care. Do not delay treatment for deep or contaminated wounds. Early clinical assessment prevents sepsis or cellulitis. Immediate professional care guarantees favorable healing outcomes.
Gather Your Cat First Aid Supplies
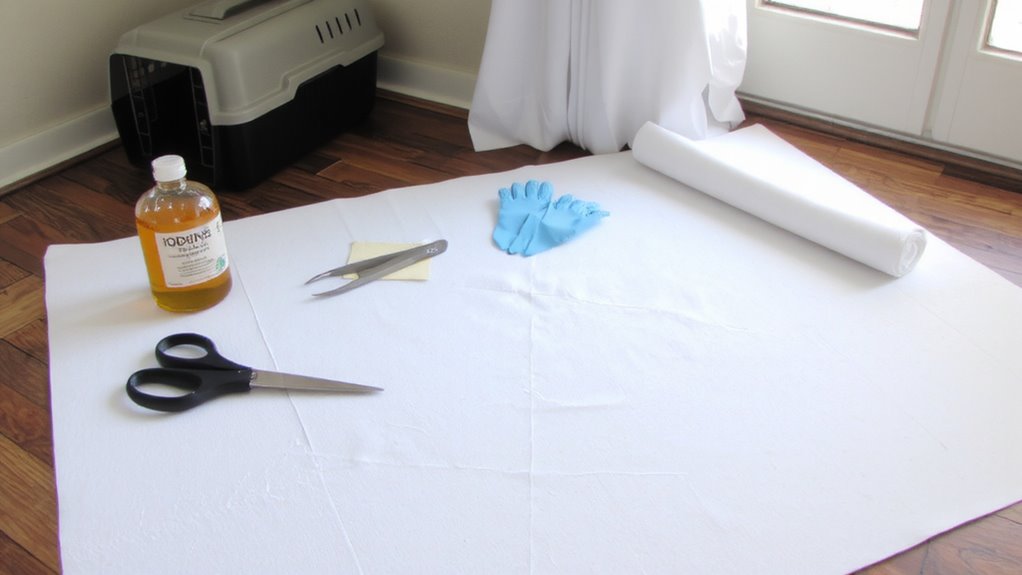
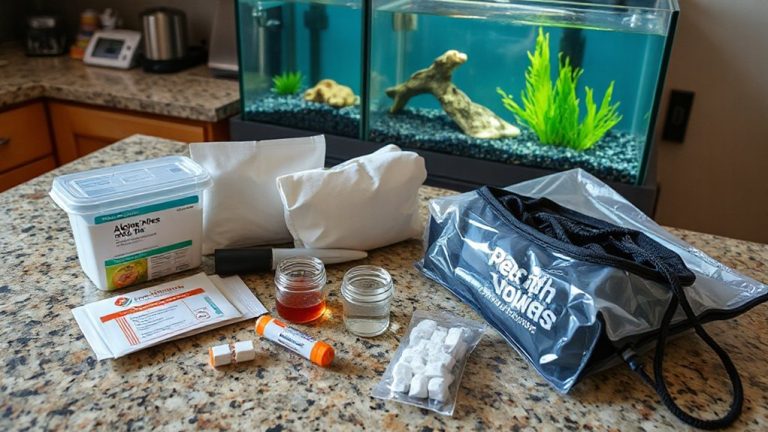
Start by assembling a well-stocked cat first aid kit tailored to wound care. Your first aid kit must include sterile gauze pads (2-inch by 2-inch), adhesive-free wound pads, medical-grade cotton swabs, and a 3% hydrogen peroxide solution for controlled disinfection. Include a digital thermometer rated to 0.1°F increments for accurate fever monitoring. Cat safety depends on using only veterinary-approved chlorhexidine wipes-0.05% concentration-for initial wound cleaning. Add a hemostatic gauze for rare bleeding episodes and a soft Elizabethan collar to prevent contamination. Guarantee scissors have blunt tips for safe trimming. Store all items in a sealed, labeled container to maintain sterility. A properly equipped first aid kit improves response time and reduces infection risk. Replace expired contents quarterly. Each component supports effective, low-stress wound intervention.
Set Up a Clean Area to Treat the Scratch
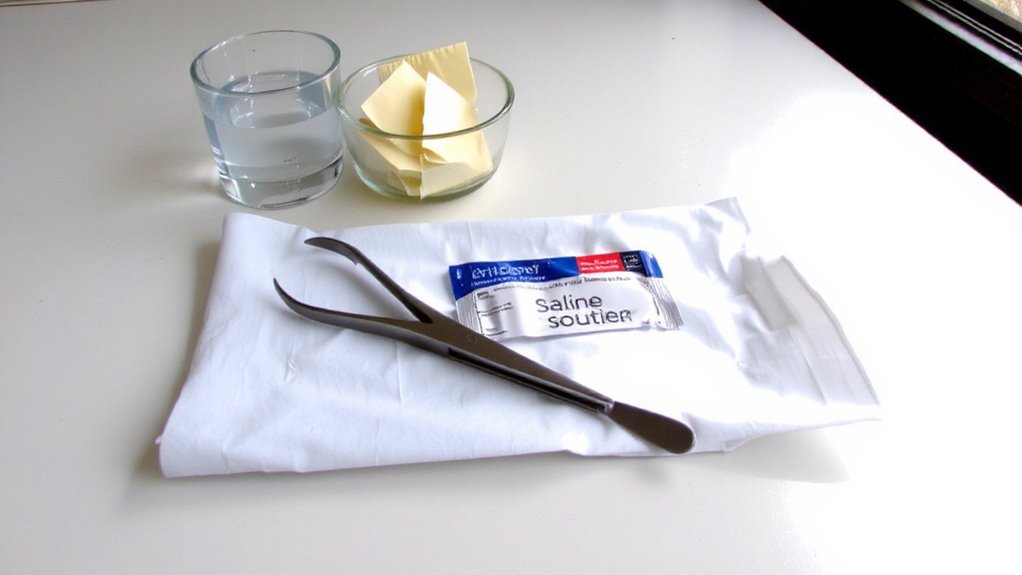
Choose a quiet, well-lit space with a flat, impermeable surface like a stainless steel tray or laminated countertop to create a sterile field. Good lighting conditions are essential-use a task lamp emitting 400–500 lux to clearly visualize wound depth and debris. Avoid shadows by positioning the light at a 45-degree angle. The surface must undergo thorough disinfection before use. Wipe it with 70% isopropyl alcohol, allowing a 30-second dwell time to effectively kill bacteria and viruses. Use a lint-free cloth to prevent particulate contamination. Guarantee the area is free of clutter and non-sterile items. The sterile field should measure at least 18 x 18 inches to accommodate supplies without crowding. This controlled environment minimizes airborne and contact contamination during treatment. Proper surface disinfection and adequate lighting conditions reduce infection risk and support precise, safe wound care.
Wash Up and Wear Gloves to Avoid Infection
Before approaching the sterile field, you’ll need to wash your hands thoroughly to eliminate potential pathogens. Proper hand hygiene is critical-use soap and warm water, scrubbing for at least 20 seconds, guaranteeing all surfaces including under nails and between fingers are cleaned. Rinse with running water and dry using a clean, lint-free towel. This step reduces microbial load dramatically. Immediately after, apply glove usage protocol. Wear nitrile or powdered latex gloves-nitrile offers superior puncture resistance (minimum 6 mil thickness) and avoids latex allergy risks. Gloves act as a barrier, preventing cross-contamination between your skin and the wound. Guarantee gloves fit snugly; loose fit compromises dexterity and sterility. Don gloves without touching the exterior surface to maintain cleanliness. Once on, avoid adjusting or touching non-sterile surfaces. Glove usage, combined with correct hand hygiene, establishes a foundational defense against infection during wound care.
Clean the Deep Scratch With a Safe Antiseptic
A deep scratch isn’t just a surface wound-it’s a potential pathway for bacteria like *Staphylococcus* or *Pasteurella*, especially from a cat’s claws. You must perform proper wound disinfection to reduce infection risk. Use a veterinary-approved antiseptic such as 2% chlorhexidine gluconate-it effectively kills pathogens without damaging tissue. Avoid hydrogen peroxide or alcohol; they delay healing. Apply the antiseptic with a sterile gauze pad using gentle pressure along the scratch’s length. Guarantee antiseptic safety by preventing contact with eyes, mouth, or mucous membranes. Rinse with saline if accidental exposure occurs. Chlorhexidine remains active for up to 48 hours, providing residual protection. For broad-spectrum efficacy, dilute chlorhexidine to 0.05% in saline if the wound is sensitive. This concentration balances germ kill and tissue tolerance. Always follow label instructions. Never reuse antiseptic containers. Discard opened single-dose vials after use to maintain sterility and effectiveness.
Bandage the Wound and Stop Licking
Once the deep scratch is thoroughly cleaned and treated with antiseptic, the next step is securing the wound with a proper bandage to prevent contamination and stop your cat from licking. Effective wound protection requires a non-adherent pad taped in place with veterinary wrap. Use 1-inch adhesive tape to anchor, then wrap with cohesive bandage material that doesn’t stick to fur. The bandage should extend 1.5 inches beyond the wound edges for full coverage. Licking prevention is critical-saliva introduces bacteria and disrupts healing. Consider a soft recovery collar or onesie if traditional e-collars cause stress. These allow mobility while blocking access. Avoid elastic绷带-they restrict circulation. Check the dressing every 6–8 hours; redness or odor means immediate change. Proper materials and fit guarantee continuous protection without complications.
When to See the Vet for a Cat Scratch?
How do you know when a cat scratch needs more than home care? If you notice signs of infection or worsening pain, professional evaluation is essential. Deep lacerations, swelling, or pus indicate possible bacterial invasion. Delayed healing beyond 7–10 days warrants veterinary assessment.
| Symptom | When to Worry | Action Needed |
|---|---|---|
| Redness spreading | Within 24–48 hours | Call vet immediately |
| Pus or discharge | Any amount | Antibiotics likely |
| Increased warmth | At wound site | Indicates inflammation |
| Worsening pain | After 48 hours | Requires evaluation |
| Lethargy or fever | Above 103°F (39.4°C) | Emergency care needed |
Monitor closely. Early intervention prevents sepsis or cellulitis. Your prompt response improves prognosis markedly.
On a final note
You’ve minimized infection risk by properly cleaning and bandaging the scratch. Use only veterinary-approved antiseptics like 2% chlorhexidine solution-never alcohol or hydrogen peroxide. The bandage must stay dry and intact, changed daily. Prevent licking with an Elizabethan collar. Monitor for redness, swelling, or discharge. Deep, jagged wounds or those near joints require veterinary sutures. Antibiotics may be needed. When in doubt, seek professional care promptly.