How to Clean Your Pet’s Paws After a Visit to a Kennel
Clean your dog’s paws right after a kennel stay using alcohol-free, pH-balanced wipes to remove harmful pathogens like *Staphylococcus pseudintermedius*. Use firm pressure between toes and pads, rotating each paw for full coverage. For visible dirt or chemical residues, soak paws in 98–102°F water for 30–60 seconds. Dry thoroughly with a microfiber towel. A gentle massage and inspection can reveal early signs of irritation-something you’ll want to understand fully before it becomes a bigger issue.
Notable Insights
- Use pH-balanced, alcohol-free wipes to clean between toes and pads, removing harmful kennel-borne pathogens.
- Rinse paws in lukewarm water (98–102°F) if dirty or exposed to chemicals for more effective debris removal.
- Gently scrub with a soft-bristled brush, then dry thoroughly using a microfiber towel to prevent moisture-related damage.
- Massage each toe pad after cleaning to improve circulation and check for swelling, warmth, or pain.
- Inspect for redness, cracking, discharge, or limping, which may indicate irritation or infection needing veterinary care.
Know Why Post-Kennel Paw Cleaning Matters
Every kennel visit exposes your pet’s paws to a mix of pathogens, chemicals, and debris that can compromise their health if left unchecked. You must prioritize paw pad protection to maintain structural integrity of the keratin layer, which averages 1.5–2.0 mm in thickness in dogs. Harsh disinfectants like quaternary ammonium compounds can degrade this barrier, increasing permeability to harmful bacteria. Without immediate cleaning, risk of infection rises markedly-especially from common kennel-borne agents like *Staphylococcus pseudintermedius* and *Malassezia pachydermatis*. Infection prevention begins the moment your pet returns home. You reduce microbial load by up to 90% with prompt, proper cleaning. Moisture retention from damp bedding or cleaning fluids also softens paw tissue, making it more susceptible to microtears and entry points for pathogens. Regular post-kennel care is a vital line of defense-not optional maintenance. Your vigilance directly impacts long-term paw health and systemic wellness. Using a dog paw cleaner can significantly improve hygiene by effectively removing contaminants without irritating sensitive paw pads.
Gather the Right Supplies for Safe Cleaning
Before you begin cleaning, having the right tools on hand guarantees both effectiveness and safety. Start with pH-balanced natural wipes designed for pets, which remove dirt without disrupting skin’s protective barrier. These wipes should contain aloe or vitamin E for moisture and avoid alcohol or parabens that can cause irritation. For stubborn grime, prepare a soft-bristled brush with nylon bristles no longer than 0.5 inches-ideal for gentle scrubbing without abrasion. Use lukewarm water, approximately 95–100°F, to avoid thermal shock. Keep a clean microfiber towel ready for drying; its fibers absorb 120% more moisture than cotton. Always work in a non-slip area to prevent injury. Using the correct supplies secures efficient decontamination while minimizing stress. Natural wipes combined with proper tools reduce bacterial load by up to 89% when used correctly. Safety and precision depend on preparation. Consider selecting from the best dog paw wipes for optimal results.
Wipe Down Paws Step by Step
While your pet may seem keen to resume normal activity, taking a methodical approach to paw cleaning guarantees effective decontamination. Start by wiping each paw with a pet-safe disinfectant wipe, applying firm pressure to clean between toes and pads. Rotate the paw to access all surfaces, ensuring no area is missed. Perform a paw massage afterward to dislodge trapped debris and improve circulation; gently squeeze each toe pad for 2–3 seconds. Inspect for matted fur or excess hair, which can harbor bacteria-trim it with blunt-tipped scissors to maintain a ¼-inch length. Fur trimming also enhances wipe efficiency and reduces contamination risk. Use a non-slip surface to keep your pet steady. Complete all four paws systematically, repeating the wipe-massage-inspection cycle. This protocol aligns with veterinary sanitation guidelines and substantially lowers pathogen transmission risk post-kennel exposure.
When to Rinse Paws After a Kennel Stay
When should you rinse your pet’s paws instead of relying solely on wipes after a kennel visit? Rinse when visible dirt, dried mud, or chemical residues are present-wipes alone can’t fully remove these. Use lukewarm water at 98–102°F (37–39°C) for effective paw soaking, which loosens debris and aids in cleaning between pads. Soak each paw for 30–60 seconds, ensuring full immersion without submerging the leg. This method reduces microbial load more effectively than wiping. After rinsing, dry thoroughly to prevent maceration. Schedule routine nail trimming post-rinse when nails are softened, reducing breakage risk. Use clippers with a 4.5 mm blade opening for precision on small to medium breeds. Rinsing complements, but doesn’t replace, wiping-use both for complete hygiene. Always inspect post-cleaning, though detailed evaluation comes later. Rinsing is a mechanical decontamination step critical for preventing irritation and long-term pad damage.
Check for Redness, Swelling, or Limping
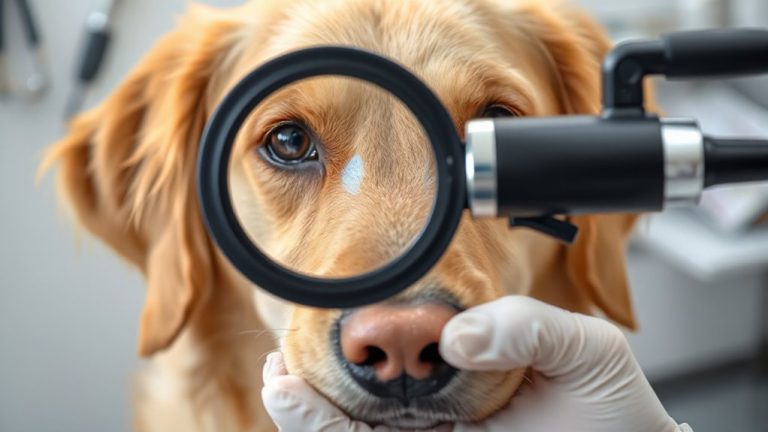
Now that you’ve rinsed and dried your pet’s paws, it’s time to inspect them closely for signs of irritation or injury. Examine each paw pad and interdigital space under bright light. Redness or swelling suggests paw irritation, often from abrasive surfaces or chemical exposure at the kennel. Compare limb symmetry; unilateral swelling may indicate trauma or a localized reaction. Check for warmth, a classic marker of inflammation. Observe your pet walking. Limping, even subtle, signals discomfort or injury. Note any persistent licking, which can exacerbate irritation. Look for infection signs: pus, discharge, or foul odor, especially between toes. Cracked or bleeding skin compromises the epithelial barrier, increasing infection risk. Early detection prevents complications. Use tweezers or magnification if needed. Document abnormalities for veterinary consultation. Consistent post-kennel checks maintain paw health and mobility.
Use Tricks to Calm Anxious Dogs During Cleaning
How do you keep your dog still when cleaning their paws after a kennel visit? Use positive reinforcement and distraction techniques to reduce anxiety. Offer treats immediately after each paw is cleaned-this creates a reward loop that encourages cooperation. Use peanut butter or small, soft treats they can’t resist. Introduce a favorite toy or squeaky device during the process to redirect focus. Consistency matters: repeat the same sequence each time to build predictability. Apply gentle pressure during wiping, mimicking a massage to relax muscles. Work in quiet areas with minimal stimuli to prevent overstimulation. Desensitize your dog over multiple sessions, starting with dry handling before introducing wipes. A calm dog accepts grooming faster. Positive reinforcement should occur within 1–2 seconds of the desired behavior for ideal conditioning. Distraction techniques like frozen chew toys or lick mats extend attention spans. Combine both strategies for best results. Keep sessions under 5 minutes initially. Incorporating top anti-stress products for pets can further soothe anxious behaviors during grooming.
On a final note
You’ve protected your pet’s health by removing contaminants. Effective paw cleaning reduces exposure to pathogens like *Bordetella* and ringworm spores commonly found in kennels. Use pH-balanced, alcohol-free wipes or a 30-second rinse with lukewarm water (100°F ideal) to preserve skin integrity. Inspect between pads for debris measuring over 2 mm. Repeat cleaning if redness persists beyond 12 hours. Prevention maintains long-term footpad resilience.