How to Introduce Brushing to a Fearful Rescue Cat With a Matted Back
Start by checking your cat’s matted back for skin redness, parasites, or tenderness using gentle fingertip pressure along the spine. Use a slicker brush with 0.5–1.0 mm bent wires and a wide-tooth comb (1/4″ to 1/2″ spacing) to assess mat density without pulling. Watch for flinching or tail twitching-signs of pain. Apply detangling spray to reduce friction. Work in 5-minute segments, pausing at signs of stress. Pair each session with high-value treats like freeze-dried chicken given within 1–2 seconds of calm behavior. Use a dematting tool with a safety guard only on severe mats, always holding the base to prevent skin tug. A stainless steel blade lasts longer and resists corrosion. Let your cat sniff a soft-bristle brush (2–3 inches wide, tines ≤0.5 inches) for 10–15 minutes daily over 3–5 days. Keep sessions quiet and reward interaction. Begin with brief touches on low-sensitivity areas like the chin. Gradually increase contact time over 7–10 days. If matting covers more than 30% of the back or lies near joints, professional help guarantees safe removal without trauma. You’ll find a step-by-step plan that matches your cat’s tolerance and grooming needs just ahead.
Notable Insights
- Begin with short, positive touch sessions using treats to build trust in non-sensitive areas like the chin and ears.
- Let the cat explore the brush first, allowing 10–15 minutes daily over several days without pressure to interact.
- Use a soft rubber or slicker brush with gentle tines to minimize discomfort during initial contact.
- Address matting cautiously by trimming only loose or severe mats with a safety-guarded dematting tool to prevent pain.
- Work in tiny sections, using detangling spray and treats, while watching for flinching or tail twitching to avoid stress.
Check for Stress and Matting
A cat’s coat condition can reveal underlying stress or health issues, so your first step is observation. Begin with a systematic skin inspection, parting the fur in multiple areas to check for redness, parasites, or lesions. Matted hair often traps moisture, increasing infection risk. Note any flinching or vocalization during handling-these are signs of pain detection. Evaluate your cat’s posture and ear position; flattened ears or a hunched back suggest discomfort. Use gentle fingertip pressure along the spine and hips to identify tender regions. Avoid manipulation of matted areas at this stage. Stress behaviors-panting, freezing, or tail twitching-signal the need for gradual acclimation before grooming proceeds. Early intervention improves outcomes. You’re not just evaluating coat texture-you’re evaluating overall well-being. Skin inspection and pain detection form the diagnostic foundation. Accurate observations guide safe, effective brushing protocols without causing further distress. Proper nutrition, including a diet rich in omega fatty acids, supports skin and coat health, which can reduce shedding and matting over time, similar to how the right dog food for Labradoodles can improve coat condition in dogs.
Use the Right Tools for Matted Coats
The right tools make all the difference when dealing with matted coats, and starting with the correct grooming equipment prevents pain and stress for your cat. Proper detangling techniques rely on tools designed for dense, tangled fur. Use gentle handling to avoid skin irritation or injury. A slicker brush with fine, bent wires helps lift mats without pulling. Pair it with a wide-tooth comb (1/4″ to 1/2″ spacing) to separate knots. For severe mats, a dematting tool with a safety guard slices through tangles without cutting skin. Stainless steel blades resist corrosion and maintain sharpness. Many professional groomers recommend using a grooming mitt to remove loose undercoat and distribute natural oils before brushing.
| Tool | Purpose |
|---|---|
| Slicker brush | Loosens surface tangles |
| Wide-tooth comb | Separates fur gently |
| Dematting blade | Cuts thick mats safely |
| Rounded-tip scissors | Trims edge mats |
| Detangling spray | Eases tool glide |
Remove Mats Safely Without Pain
Start by evaluating the mat’s size and location-large, tight mats near joints or the armpits require extra care since pulling can cause pain and restrict movement. Use a mat splitter or dematting tool to slice through dense tangles at the base, minimizing force. For mats less than 1 inch, gently tease them apart with a wide-tooth comb, working from the edges inward. Always hold the base of the mat to reduce tug on the skin-this guarantees gentle handling. Avoid scissors unless necessary; they risk accidental cuts. If fur is matted down to the skin, clip it in place using safety-blunt-tipped shears with 3 mm precision blades. Lubricate tangles with a leave-in conditioner or detangling spray to enable pain free detangling. Never yank or rush. Work in small sections, no more than 5 minutes at a time, to limit stress. Professional grooming may be required for severe matting. For reliable results, choose a high-quality dematting tool based on your cat’s coat type and mat severity.
Start Trust-Building With Touch and Treats
Patience is your most essential tool when introducing touch to a fearful rescue cat. Begin with sessions lasting 3–5 minutes, twice daily, using gentle handling to minimize stress. Allow the cat to approach you; never force contact. Use positive reinforcement by offering high-value treats, such as freeze-dried chicken, immediately after brief, non-invasive touches. Focus on non-sensitive areas like the chin or base of the ears. Gradually increase touch duration and coverage over 7–10 days, monitoring body language for signs of anxiety. Pair each touch with a treat within 1–2 seconds to strengthen association. This conditioning establishes trust through predictable, low-pressure interactions. Gentle handling reduces cortisol levels, improving long-term cooperation. Consistency in timing, location, and reward delivery increases efficacy. Use quiet environments with minimal distractions. Avoid sudden movements. This systematic approach prepares the cat for more direct care, such as brushing, by creating a foundation of safety and positive reinforcement.
Let Your Cat Meet the Brush First
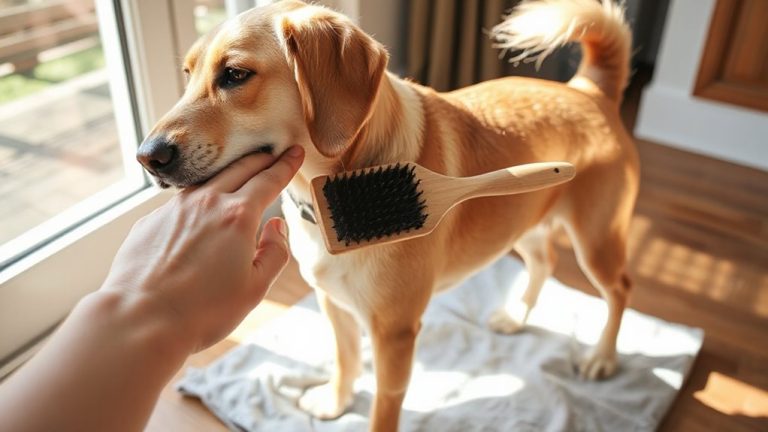
Curiosity drives acceptance when it comes to introducing grooming tools. Place the brush near your cat during calm moments, allowing sensory investigation without pressure. Choose a soft-bristle or rubber grooming tool-approximately 2–3 inches wide, with rounded, flexible tines no longer than 0.5 inches-to minimize intimidation. Gradual exposure is essential; leave the brush nearby for 10–15 minutes daily over 3–5 days. Avoid forced contact. Instead, apply positive reinforcement by offering treats or praise when your cat sniffs or approaches it. Treats must be high-value, such as freeze-dried chicken pieces (approximately 0.25 oz per reward). This method builds neutral, then positive, associations. Monitor body language: forward ears and relaxed posture indicate comfort. Persistent avoidance means extend the exposure period. Guarantee the brush remains clean and free of product residue. Introduce tactile contact only after consistent, stress-free interaction.
Make Brushing a Calm Daily Habit
Now that your cat shows no aversion to the brush and willingly investigates it, you can begin incorporating brief brushing sessions into their routine. Start with two- to three-minute sessions daily, using gradual exposure to build tolerance. Choose a quiet time when your cat is naturally calm, such as after a meal. Use positive reinforcement by offering a high-value treat immediately after each session. A soft-bristled slicker brush with rounded tips, like the Hertzko Self-Cleaning Brush (5.5 inches long, 0.8-inch bristle height), minimizes irritation. Focus on low-stress areas first-cheeks, back, and tail. Avoid pressing harder than 50 grams of force to prevent discomfort. Track progress weekly: aim for 10-minute sessions within three weeks. Consistency guarantees cooperation without triggering fear. This routine supports coat health and strengthens trust through predictable, calm interaction.
When to Call a Professional Groomer
Why risk injury or increased fear when your cat’s stress levels spike during grooming? If mats cover over 30% of the coat or are tightly bound to the skin, seek a professional immediately. These conditions often require emergency grooming to prevent pain, restricted movement, or infection. Severe skin issues-like redness, sores, or pus-signal underlying health problems needing veterinary assessment before any brushing. Mats close to the skin trap moisture and bacteria, worsening dermatitis. A professional groomer uses thinning combs, blunt-tipped scissors, and motorized clippers with #10 or #7 blades to safely remove tangles without cutting the skin. They work efficiently, minimizing stress. Attempting removal at home with improper tools risks cuts, worsening mats, and trauma. Professionals trained in feline behavior use calming techniques and restraints that reduce fear. For matted rescue cats, especially with severe skin issues, professional intervention isn’t optional-it’s essential for health and recovery.
On a final note
You’ve addressed matting and built trust using gradual exposure and proper tools. A slicker brush with 1.5 mm bent wire pins reduces pulling. Daily 3-minute sessions with positive reinforcement establish routine. Mats over 1 inch require clippers with a #10 blade for safe removal. Professional grooming is necessary if the cat shows persistent stress or skin irritation. Consistency prevents future tangles and supports coat health.