How to Brush a Dog’s Legs and Paws to Prevent Snowball Buildup in Winter
Brush your dog’s legs and paws every few days using a slicker brush with tightly spaced stainless steel pins to remove trapped debris. Focus on the interdigital areas, where snow clumps into ice balls under 5 psi pressure. Trim hair between pads to 3–6 mm to reduce snow retention. Apply a hydrophobic paw balm melting at 70–80°F to create a semi-occlusive barrier. You’ll find more strategies to protect sensitive dermal layers through consistent winter care.
Notable Insights
- Trim interdigital hair every 3–4 weeks using 3–6 mm clippers to minimize snow trapping between paw pads.
- Apply rubberized paw balm with a 70–80°F melting point to create a hydrophobic barrier against moisture and ice.
- Use a slicker brush to remove mats near paw pads and a bristle brush for finishing the outer leg coat.
- Lift each leg gently and brush in the direction of hair growth to dislodge debris and prevent matting.
- After walks, wipe paws thoroughly with a microfiber towel and inspect for ice, cracking, or chemical residue.
Stop Snowballs From Harming Your Dog’s Paws
When snow accumulates between your dog’s toes, it can pack into hard ice balls that irritate the skin and split the paw pads. This leads to frost irritation and ice damage, especially in breeds with thin paw hair or prolonged outdoor exposure. Ice balls form rapidly when temperatures drop below freezing-typically at 32°F (0°C) or lower. The trapped moisture freezes, expanding in tight spaces and exerting pressure up to 5 psi on sensitive dermal layers. You should inspect paws every 30 minutes during snow activity. Use a soft-bristled brush to gently dislodge early buildup before it solidifies. Rubberized paw balm with a melting point of 70–80°F creates a hydrophobic barrier, reducing adhesion. Protective boots rated for -20°F offer 90% coverage against ice damage. Early intervention prevents microtears, which can become infected. Focus on prevention-once ice compacts, removal risks further trauma. For reliable protection, consider trying one of the best winter dog shoes recommended for extreme cold and ice resistance.
Trim Hair Between Paws to Stop Snow Clumps
Trimming the hair between your dog’s paws reduces snow accumulation by eliminating spaces where moisture can collect and freeze. Long hair between paw pads acts like a sponge, trapping snow and forming ice balls that press against sensitive paw padding. Use precision hair clipping tools with guard combs set to 3–6 mm to shorten interdigital fur without irritating skin. Focus on the areas between toes, where hair growth is densest and snow compaction most likely. A consistent hair clipping schedule every 3–4 weeks during winter prevents overgrowth. Trimmed fur exposes more paw padding to the ground, improving traction on icy surfaces. Avoid cutting too close-maintain at least 3 mm of hair to cushion impacts and reduce frostbite risk. Stainless steel grooming scissors or cordless clippers with ceramic blades offer accuracy and reduce heat buildup near skin. Proper hair clipping guarantees paw padding remains protected yet functional in cold conditions. For best results, consider using one of the top-rated grooming tools recommended for precision and safety in sensitive areas.
Pick the Best Brush for Winter Paw Care
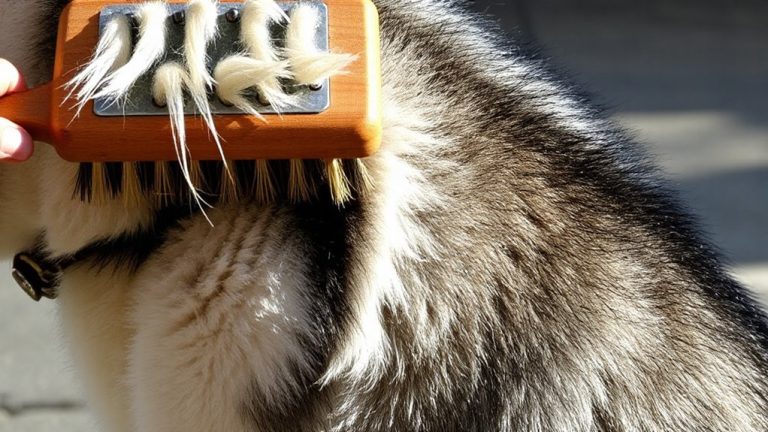
A winter-ready grooming toolkit starts with the right brush-specifically, one designed for managing compacted snow, ice buildup, and matted fur around paws. Not all grooming tools handle this task efficiently. Choose brush types with tightly spaced, stainless steel pins or bristles angled to penetrate dense undercoats. These features prevent ice adhesion and reduce tugging on damp fur. For best results, pair a slicker brush with a fine-tooth comb as part of your routine.
| Brush Type | Material | Best For |
|---|---|---|
| Slicker | Stainless steel | Removing mats near pads |
| Bristle | Nylon-polycarbonate | Finishing outer coat |
| Pin | Coated steel | Gentle detangling |
Select grooming tools with ergonomic handles and rust-resistant components. Precision matters when working around sensitive paw folds.
Brush Paws and Legs Safely (Step-by-Step)
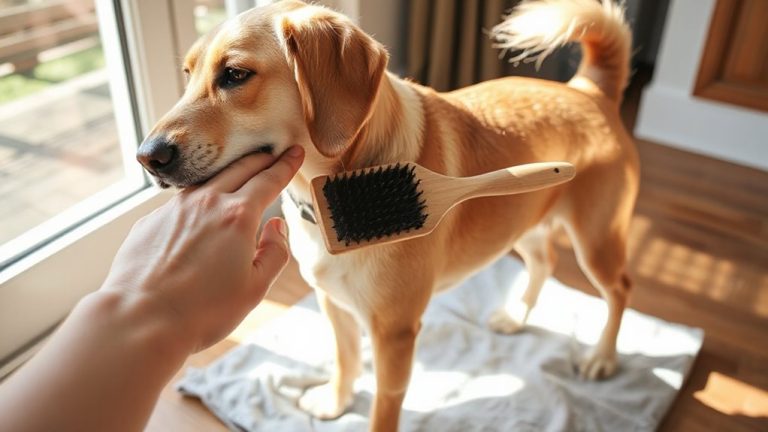
Though it may seem simple, brushing your dog’s legs and paws requires careful technique to avoid injury and guarantee thorough coat maintenance. Begin with a soft-bristle brush or rubber curry comb to loosen surface debris. Gently lift one leg at a time, supporting the joint to prevent strain during leg stretching. Brush in the direction of hair growth, applying light, even pressure-excessive force may damage sensitive paw pads. Use a fine-toothed comb to detangle matted hair between toes. Incorporate a brief paw massage to improve circulation and assess pad health. Check for cuts, lodged debris, or dryness. For long-haired breeds, trim excess hair between pads with rounded-tip scissors. Choose a pair of high-quality dog grooming scissors to ensure clean, safe trims. Repeat for all four legs, maintaining a consistent, gentle rhythm. This step assures even coat distribution and prevents snowball formation during winter walks.
Wipe Dog Paws After Winter Walks
Since winter surfaces often harbor ice melt compounds and jagged ice fragments, you should wipe your dog’s paws immediately after every outdoor walk. Use a clean, absorbent microfiber towel to remove moisture and debris. Start at the pad surface, then gently separate toes to eliminate trapped slush. This prevents chemical exposure and reduces cracking risks. For effective indoor drying tips, place a dedicated paw-drying mat near the entryway and restrict your dog’s movement until paws are fully dry. After drying, perform paw balm application using a veterinary-recommended product containing 10% shea butter and beeswax. Apply 0.25 ml per paw pad using gentle circular motions to enhance absorption. These biologically compatible ingredients form a semi-occlusive barrier, reducing transepidermal water loss by up to 60%. Consistent use improves skin resilience against temperature fluctuation and abrasive terrain.
Check for Red or Cracked Paws After Walks
After each winter walk, check your dog’s paws right away-redness or cracking can signal early tissue damage from cold exposure or chemical irritants. Inspect each paw pad thoroughly, noting any signs of inflammation or texture changes. Redness often precedes paw swelling, which may indicate irritation from ice melt salts or an allergic reaction. Cracked pads compromise the skin barrier, increasing frostbite risk, especially in temperatures below 20°F (-6.7°C). Prolonged exposure to freezing conditions without protection accelerates tissue vulnerability. Use a flashlight for better visibility in crevices between toes. Early detection reduces complications. Swelling combined with coolness or pale tissue requires immediate veterinary assessment to rule out deeper injury. Dogs with thin coat, low body fat, or small paws face higher frostbite risk. Perform checks indoors, where lighting and temperature aid accuracy. Consistent monitoring guarantees timely intervention and prevents chronic paw issues.
Build a Stress-Free Winter Paw Routine
You’ve checked your dog’s paws and caught early signs of redness or cracking-now it’s time to turn those post-walk inspections into a consistent, low-stress habit. Start with a 30-second paw wipe using a microfiber cloth to remove ice melt residues. Follow with paw moisturizing using a veterinary-formulated balm containing shea butter and ceramides; apply a pea-sized amount per pad to maintain moisture barrier integrity. Reapply every 48 hours or after wet exposure. Introduce winter booties early in the season. Choose booties with non-slip rubber soles, breathable mesh uppers, and adjustable hook-and-loop straps. Guarantee a snug fit-measure paw width and length against manufacturer sizing charts. Test-walk indoors for 10 minutes to acclimate your dog. Consistency prevents snowball compaction, which exerts up to 5 psi of pressure under pads. A repeatable routine builds compliance.
On a final note
Keep your dog’s paws snowball-free with consistent grooming. Trim hair between pads to ½ inch using blunt-tipped scissors to reduce snow accumulation. Use a slicker brush with 0.5-inch coated wires to remove tangles and compacted debris. Brush legs and paws daily, focusing on feathering. After walks, wipe paws with a 3×3-inch microfiber cloth to remove ice melt. Inspect for cracking or redness. Apply a pet-safe balm with 2% shea butter if needed.